Some say they have had good luck at extending bushing
life, and keeping the front suspension clean by installing an "O" ring
to keep the oil in and the dirt out. Drive the bottom bushing in about
1/4" deeper during installation. Cut off about 3/16" from your old bushing.
After reaming, insert an "O" ring in the bottom of the new bush and hold
it in place by driving in the cut piece from your old bushing (see sketch).
Be sure that the grease hole at the top end of this lower bushing is not
blocked. If it is, drill it through, taking care not to damage the threads.
N.B. READ WEBMASTER ADDENDUM BELOW
Morgan thoughtfully provided a means of lubricating the front suspension from inside the car, owners had managed for 40 years without this. This is no more than a pair of pipes connected to a valve connected to the oil pressure gauge output. When the valve is pressed oil is pumped from the sump into the top of the king pin and hence onto the bushes. The factory recommends brief use every 300 miles or so.
A few observations picked up from talking around the membership:
1. Dirty engine oil does little to preserve phosphor bronze bushes. If it is done when the oil is hot, it will actually remove the grease you need!!!
2. 300 miles is a very rough guide and it is hard to remember when it was last done.
3. The feed is not balanced to each side and one side can be dry while the other is flooded.
4. When the facility was first installed oil was
much thicker than it is now to the extent that the 10/30
SAE oil recommended for the
T16 engine probably does no more than wash the grease that was put
in at the last service out.
5. Disk brakes have now replaced the drum brakes of the time.
6. Excessive use leads to, at best a mess on the floor, a bill for new brake pads. (Oil ruins brake pads.) At worst a bent car when you notice, too late, that the brakes aren't as good
as they were.
7. The valve of the one shot oiler has been known to stick causing the motor oil to quickly evacuate the engine with all that entails.
by Lorne Goldman
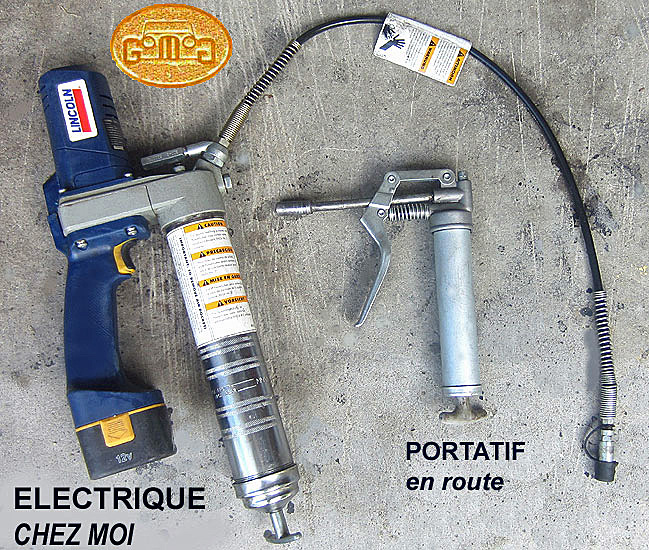
The area that needs lubrication is the grease reservoir between the two bushes in the kingpin on each side. Since 2000, the MMC has tried five (5) variations in this area of the Morgan front end and each has different watchpoints, though the basics remain the same. I am addressing each separately to avoid confusion and a bad job. If your car was made after 1999, you should ascertain which version you have if you are not sure. As well, at Morgan, new items often go into production during a transition period where a specific car may or may not have the previous or next system. The Manual that comes with the car will not advise the new owner of which system he has. So be careful of greasing instructions that do not match my instructions below. If in doubt, contact me with an image of what you have. You do not wish to do an incomplete or improper job on an owner task that is so basic and important.The most common problem new (and often old) owners encounter is not properly attaching the greaser to the grease nipple or losing the vital connection during the greasing process. If this happens, nothing will pump in..it will merely flow out of the end of the greaser. There are two solutions, on is to use a short rigid feeder nozzle that will allow you to pressure the nozzle onto the nipple and the second, which I use now, is to use a flexible hose at the end of a hydraulic or electric greaser.
May 31, 2011: I have received a number of emails since
yesterday asking for my opinion and experience on how much a single grease
nipple can be expected to provide the stub axle. Simple answer. Everything.
Grease guns, depending on their quality and type, put out from 3000 to
15,000 psi of pressure. At this force, the grease will get into every nook
and cranny within the stub axle system until it finds an exit out of the
system..somewhere unpleasant. We have found that the single nipple on the
axle will fill the reservoir between the bushes, the annular groove (2000-?)
on the stub axle shelf, spiral grooves in the bushes (a la Kalf),
underneath the damper plate (clamped down by 500 lbft of spring pressure),
the Mulberry and Sheally steering races (which are fed by a tiny MMC grease
passage on the cars (from 1951 to 2002) and even the tiny clearance area
(2-4 those) between the bushes and the kingpin. It does not matter whether
the front suspension is compressed when you are greasing, or the wheels
are turned out or in or you are standing on your head (smile). At grease
gun pressures, everything will be filled. (Be careful to find and wipe
off the excess when you finish pumping.) N.B. Special care must be
taken in fitting steering races (aka bearing thingies) to cars made after
2002! One can inadvertently block the MMC grease feed on these cars and
starve the bearings to sad effect.