I have wanted to put dipped and high beam relays in to my '76 Morgan. Dipped and high beams.
Adding Headlight Relays
Converting from Sealed
Beam to Halogens
I have wanted to put dipped and high beam
relays in to my '76 Morgan. Dipped and high beams.
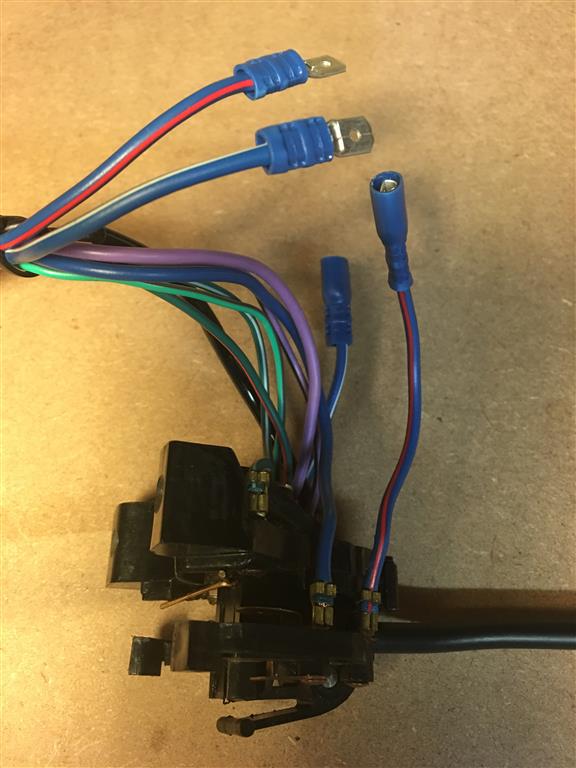
First, I removed the column stalk and cut the dip and high beam wires, I fitted these with spade and female spade connectors, the logic being if a relay failed I could bypass it easily by reconnecting the wires. Photo attached. This arrangement also mean the relay could only be wired correctly as well.
The I created a loom for the two relays and fixed them to the bulkhead above the steering column and fitted either male or female spade connectors to wires for pin 86 and 87 on the relays. The power feed was taken via a ring connector on the back of the amp meter and the relays earthed. The relays are fitted with blade fuses in line (to pin 30) so saves adding a fuse. I am quite pleased with the result and I think I was getting about a volt more at the relay than at the rocker switch (engine off).
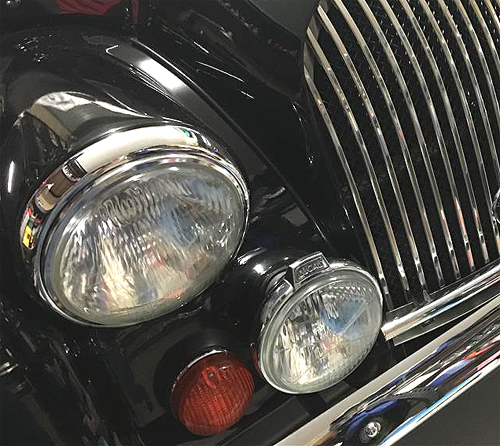
Lucas LR6 Spots Upgrade from Sealed Beam to Halogen
I have long been concerned about my Lucas LR6 Sealed beam units, whilst I have picked up some spares (NOS etc.) on EBay, it is a limited stock. After much research (and talking with dealers) I was advised there was no replacement and it was not easy to source similar light housing that are rear mounted.
I proceeded to source a set of "semi sealed beam" lights from AutoPal (Part: HL104/H1) that took H1 Halogen lights and would fit the Lucas LR6 housing in terms of diameter. Since they were not too expensive (approx. GBP30 delivered) including a set of bulbs I took a punt.
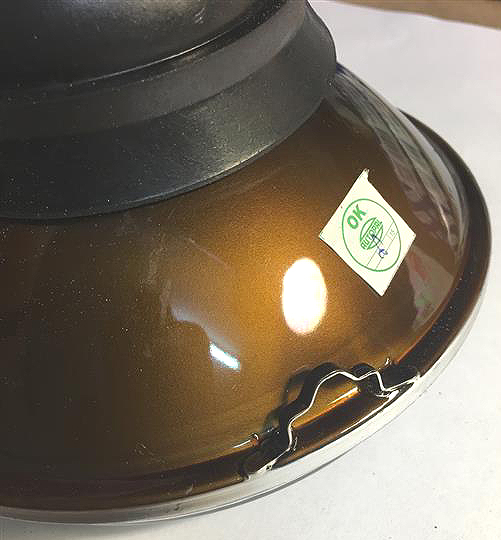
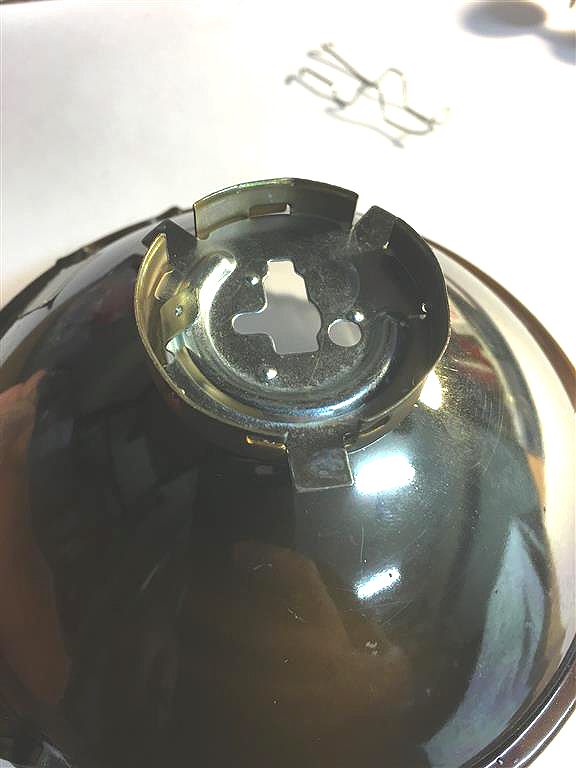
They turned out to be too deep by about 2 cms. However, there are some locating tabs set at 120 degrees apart that I could remove (the Lucas LR6 is spaced at 90 degrees anyway) and halve the gap and some trimming could be preformed at the rear. See the photos (before the trimming). All easily done with a Dremel. Additionally, the earth pin could be bent over slightly so it pointed outwards, as on the sealed beam unit, so this left just the bulb. This was a bigger issue...even after I got the unit to fit the housing.
But it turns out that the bulb is longer than it needs to be! I was able to trim about 8mm off the end of the bulb where the switched wire is attached and was then able to bend this slightly and everything fitted with some spare space. The contact still has the same depth of insulation around it and is quite safe once installed. Some minor tweeking to the clip that holds the bulb to "flatten" it a bit and everything fitted together just fine.
I was able to keep the bulb in it's packaging
to save touching the glass part during the operation. Three pictures are
shown below, before, during and after (but pre-bending slightly). What
I need to do now is prepare a third bulb as a spare to carry in the car,
as it's easy to modify with a Dremel but I doubt I could do this roadside!
 |
 |
 |